
That’s right! Just like the title says, this is a post about the longest 3d print I have ever done and the project that I made out of it. I started with this part: http://www.thingiverse.com/thing:538350… it’s author has entitled it “Funnest print to watch”, and it certainly lives up to its name because it’s such a complicated shape that magically prints without any support material at all! So, I started out printing a small one on the Up Mini that I had access to at the time (which, by the way, took about 10.5 hours for an up-mini-sized one of these things).
Then, I had a thought that popped into my head… “I want a bigger one”. I didn’t know what I was going to do with it at the time, but I wanted a bigger one! So, I took the design and scaled it up to the biggest size that the Makerbot z18 I also had access to could hold. The “official” Makerbot time estimate was around 96 hours, so I thought, “ok…. 4 days! hope this works….”… well, Makerbot was a bit off on it’s estimate (by 2.5 days). It actually took a whopping 6.5 days to print out! I couldn’t believe that it finished, but when it did, it was incredible.
So, like I said, I had no clue what to do with this really cool monster 3d print, so I polled some of my friends. One friend said “you should make a lamp out of it”, and that really stuck with me! So I rushed right out to Home Depot and decided to buy all the things I needed to make this crazy 3d print into a lamp. My bill of materials included
- one lamp kit (power cord, socket, etc)
- one lamp shade
- a 1.5″ diameter hunk of PVC pipe
- a 1.5″ to 2″ PVC flange
- a 2″ diameter hunk of PVC pipe
- a 2″ endcap
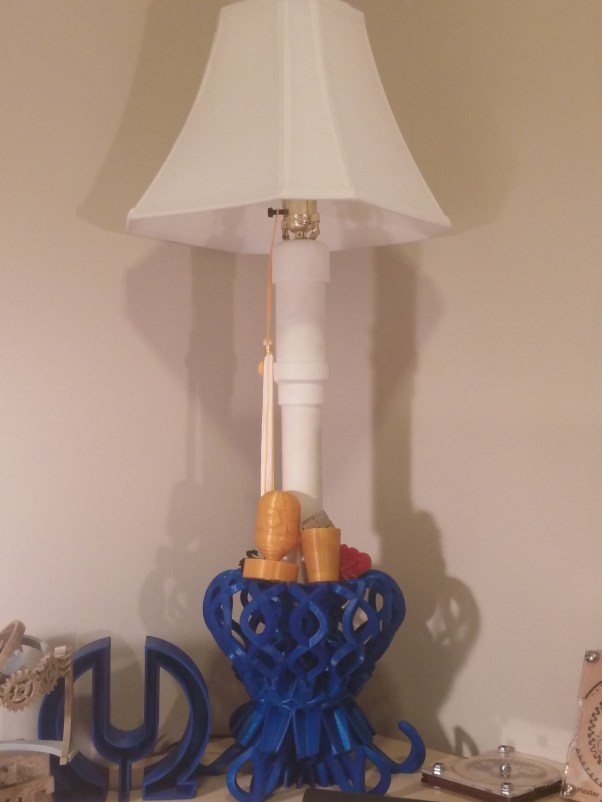
So, with my materials in hand, I set about creating my lamp. The first thing I realized was that since stock PVC pipe was all shiny and had writing all over it, it didn’t look very nice. So I sanded all the writing and shine off until I was just left with nice, smooth plastic. Then I assembled my lamp post using the pipe and flanges. The 2″ endcap was to give the lamp socket somewhere to sit at the top of it all. Also, I had to drill a small hole through the endcap so the cord could dangle through the middle of the lamp post.
After I assembled my lamp post, I realized I forgot to take into account one important thing… I measured the hole through the center of the 3d print at 1.5 inches, but, when you buy PVC pipe, the named diameter is an inside diameter…. There is a solid 1/8″ of pipe added to either side of that 1.5 inches!!!
Some quick thinking on my end saved the project, and I ended up sanding a taper into the bottom of the lamp post and pounding it into the 3d printed base with a mallet. Low and behold, the taper worked! it wedged the lamp post into the 3d printed base very nicely.
So, without any further Ado, I present my lamp with 3d printed base:
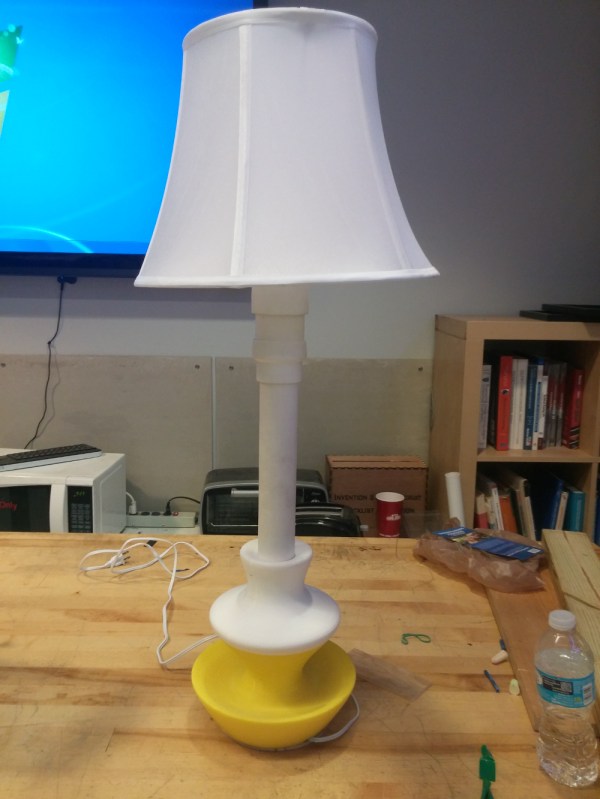
I have designed other 3d printed lamps since this one, and I made sure to design the lamp with a hole that was perfectly toleranced for the PVC pipe now that I learned more:
Well, there you have it! I’ll put another project up in a few days once I choose which one to describe next, so as always, thanks for reading and stay tuned!
John (aka The Mad Printer)
