
As soon as the Invention Studio got their first Hyrel printers (the Hyrel Engine), I decided to embark on a big project: printing, assembling, and finishing a fully working ukulele! I didn’t design the ukulele (designed by thingiverse user solstie: http://www.thingiverse.com/thing:268090) , but the whole fun of this project was learning how to print with the Hyrel printer and learning how to properly finish a 3d print! In order to print the ukulele, there were a few things I had to consider, namely:
- Will there be enough strength in the plastic to deal with the immense amount of tension the strings will put on the ukulele body?
- Can I print the ukulele in one shot, or do I have to break it up, print each piece, and assemble it?
Using a hyrel printer helped deal with the strength concern, because every part was printed with 100% infill! Thanks to the versatility of the Hyrel, I was able to set the prints up so that every part of the ukulele that printed was solid plastic. I did have to break it up into multiple pieces, though (below – a body section, a neck section, and the tuning pegs).


And I’m not saying I had a few failures along the way, because I definitely did haha (see below)
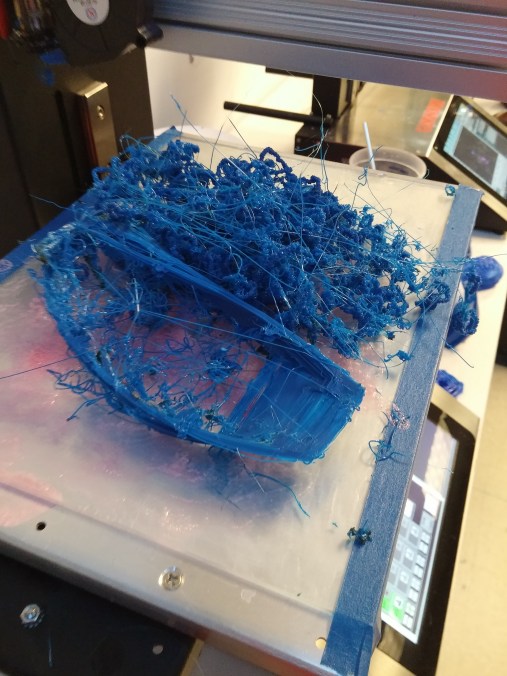
This, however, was due to the way I oriented part of the ukulele on the bed and not because of the printer itself! So, as soon as I oriented this piece correctly, it printed out flawlessly!
The only regret with the printing is that I shouldn’t have used ABS for the print… It contracts enough when it shrinks that you get layer cracking:
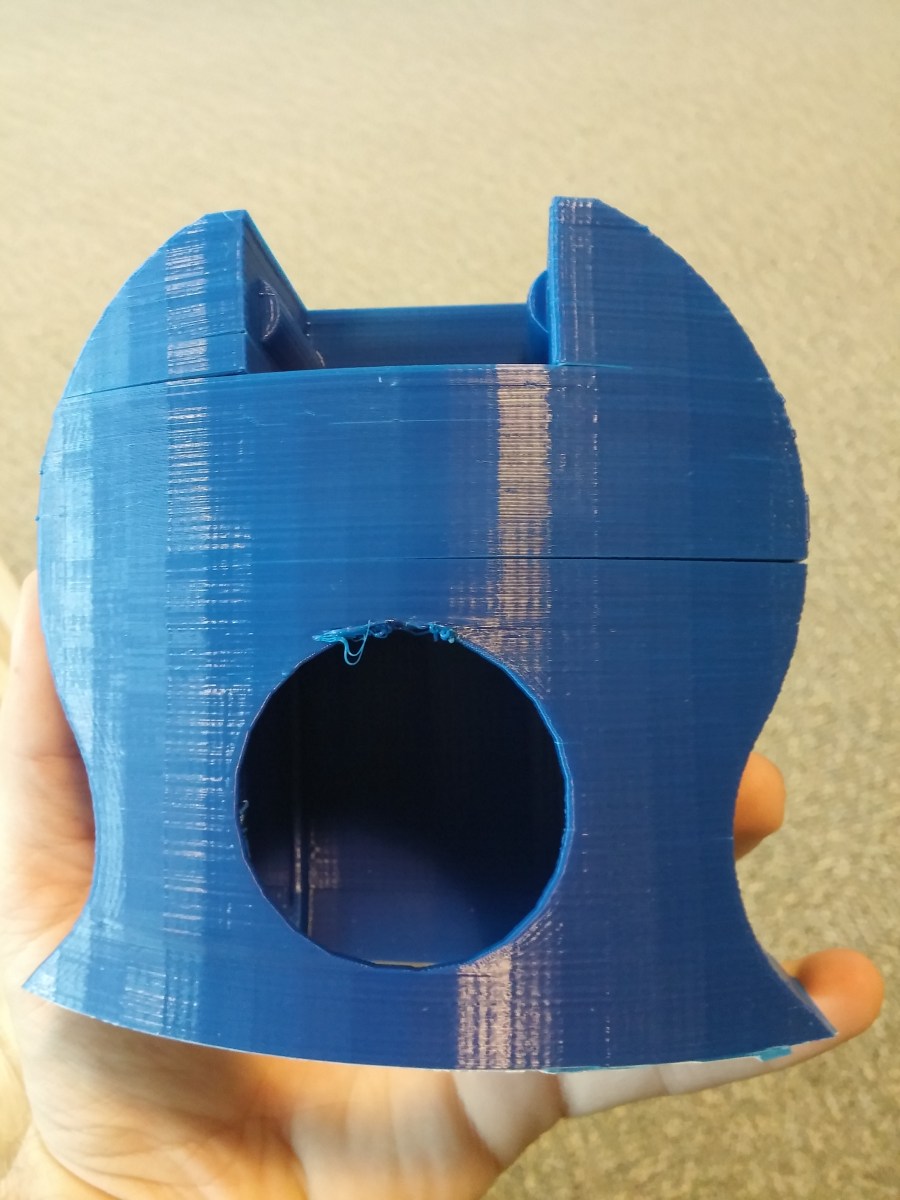
Since some of my pieces turned out with this cracking you see above, I used another tool to fill the cracks that I highly recommend for this purpose: the 3doodler 3d printing pen! Contrary to what the manufacturers say, you can’t draw 3d objects in the air with it, but it works great as, essentially, a plastic soldering iron. I used the 3doodler to inject some plastic into all the cracks (that, by the way, was the same color as the ukulele body). you can see all the rough spots below from where the plastic was injected:


To smooth out those rough spots, I repeatedly sanded and applied acetone to them, and they just blended into the surface of the ukulele! I also melted some plastic into the space where the neck meets the body to give it some added strength. Once all my fills were sanded and smoothed out, I then proceeded to apply XTC3d by Smooth On to the entire body of the Ukulele. In addition to filling all the 3d print layers, XTC strengthened the ukulele even more!
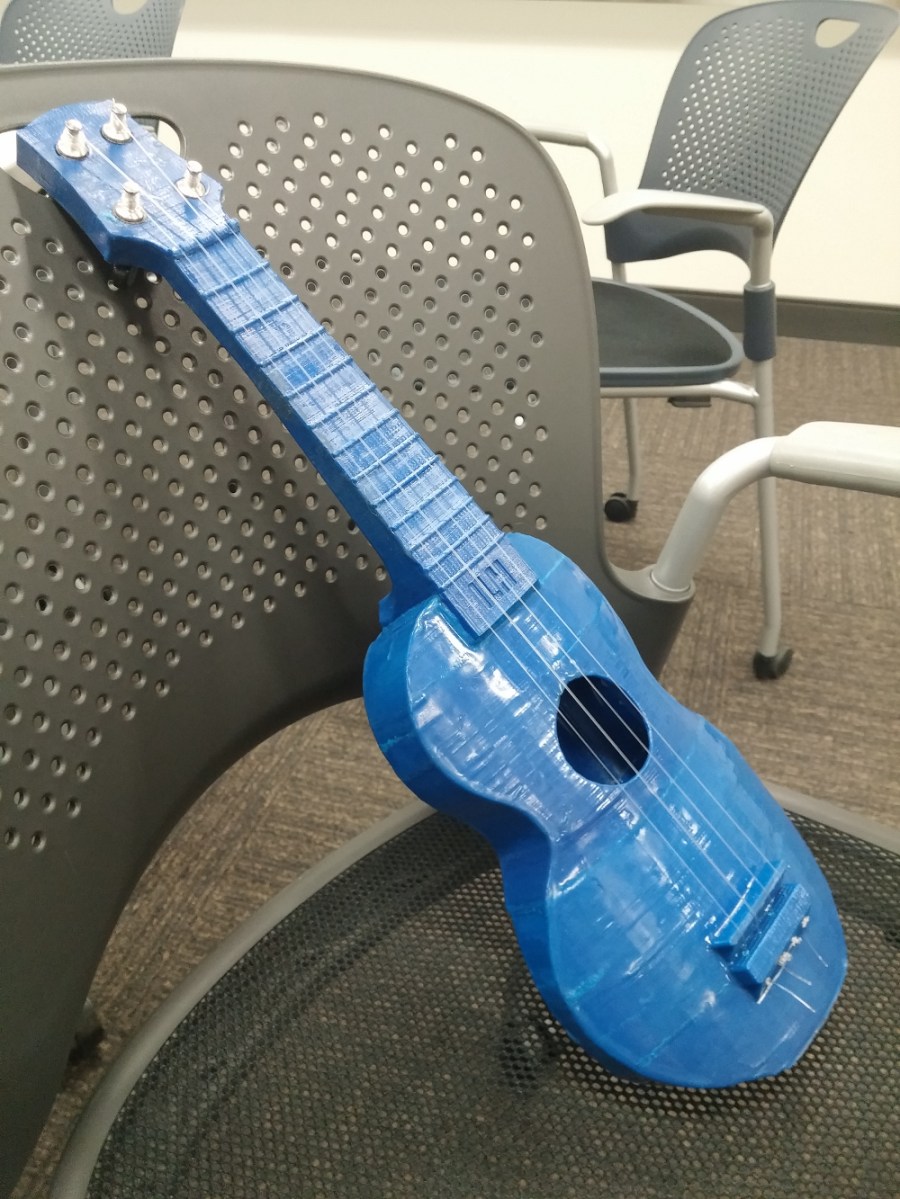
When I finished smoothing out and strengthening the body, I decided to put the tuning pegs that I printed into the holes on the head, string it up, and see if it worked. It did actually work! However, it couldn’t hold a tune for more than a few minutes, and when I turned one of the tuners that I had printed, it snapped on me. In hindsight, I should have seen that coming since 3d printed things tend to shear along layers, and, due to how I had to print the tuners, that’s exactly what happened! So, then I switched to some $15 metal tuners, and that made all the difference in the world. It now held a tune reliably, and it played very well! Here’s a picture of the finished ukulele:
It was an incredibly long (but incredibly fun!) project… it took around 40 hours to print, counting failed prints. And it took me at least that long to finish, sand, and strengthen with XTC (if not longer). I owe it to the Hyrel printer for giving me the flexibility to attempt this project, so I’m glad it turned out really well.
So that’s the story of the ukulele, my first big project I did as a 3d printing enthusiast! I’ve done quite a few big projects since then, so more are on the way!
John (aka The Mad Printer)
