The Mad Printer at Construct3D

Hey Everyone! Long time no post… I know, I know, I should be more regularly producing content, but I’ve had other parts of my life become really busy that have required more of my attention for the past few months. So, hopefully I can rectify that soon. On another note, I’m teaching a workshop at the Construct3d 3d printing conference at Georgia Tech! This will be specifically focused around using 3d printing for Mold making.

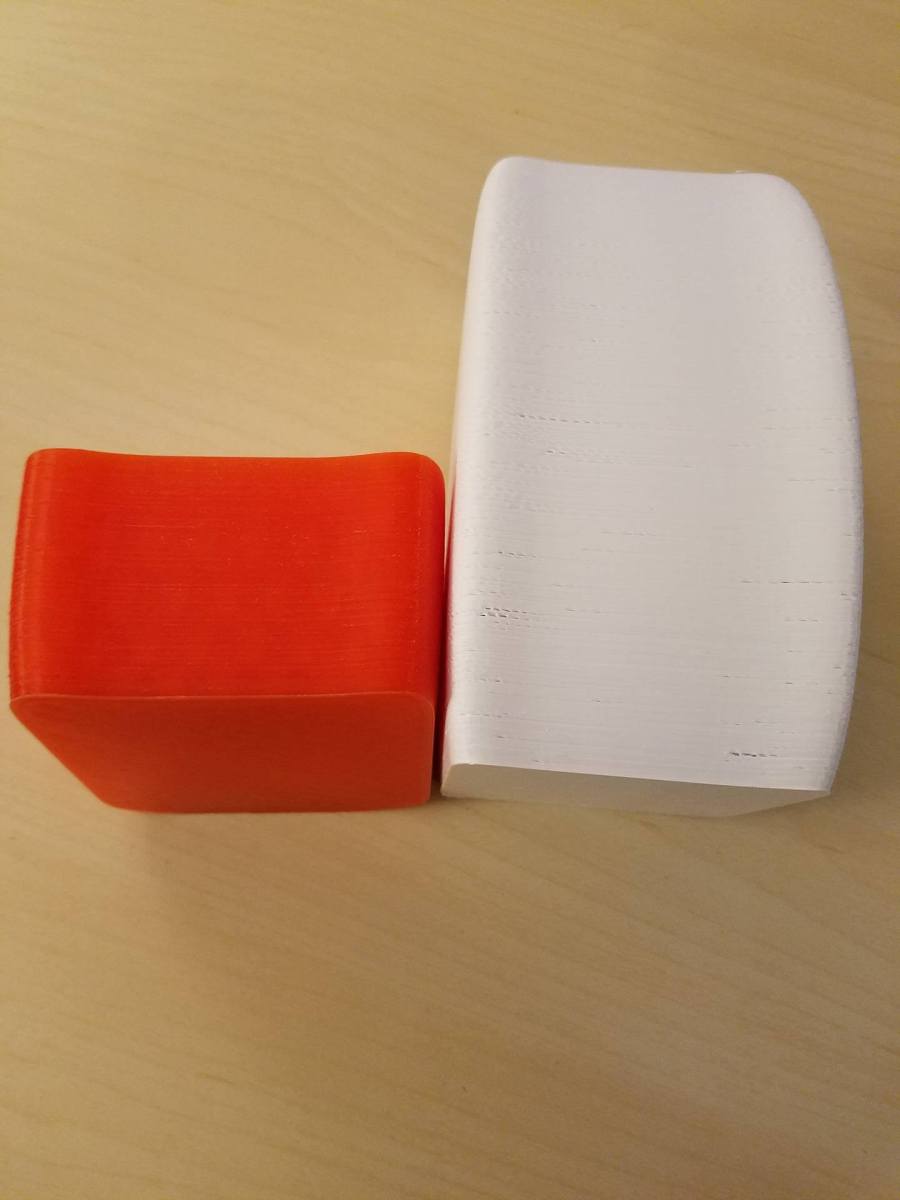
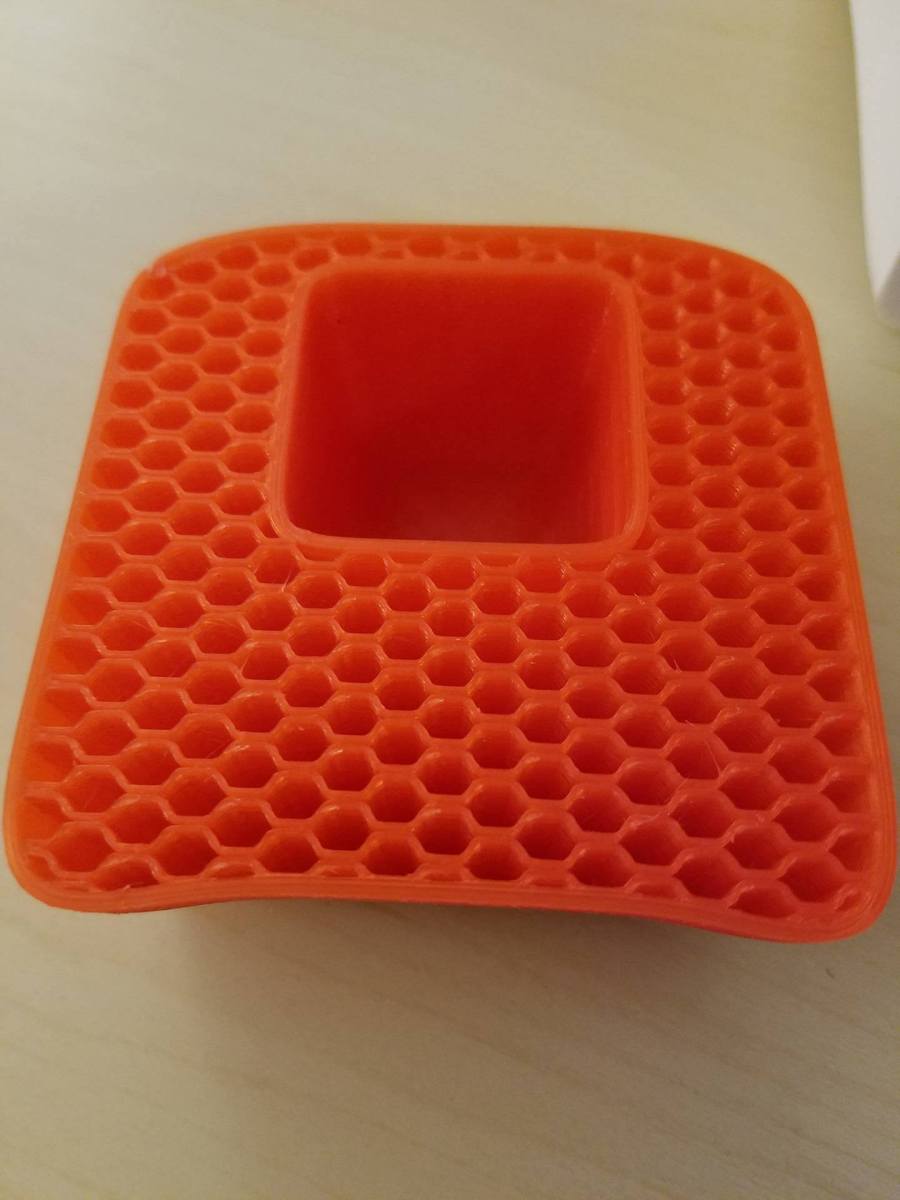
So I haven’t been idle during my time off from Blogging: I’ve been learning how to print soap molds and make soap! So much to learn around mold making, soap preparation, soap coloring, and releasing the finished product from the mold.

As soon as the workshop ends, I will be posting pictures of my mold and the mold making process in another post, so stay tuned! That’s all for now,

John (aka The Mad Printer)

Progress Must be Made

Well, I’m currently working with the awesome people at Hyrel to get my printer sorted after upgrading to the new firmware, but in the meantime, I’m using one of my other printers to fix another of my printers haha.  My Kosselxl has been sitting idle for far too long due to the fact that one of the roller carriages has deteriorated over time (it wasn’t a very good design to begin with), so I’m printing out another roller carriage, which should, hopefully yield a better carriage for my Kossel!  I found this carriage here: , and it seemed like a very good design, so I decided to try it out!  I will keep you updated with progress pics as soon as it’s done printing.

John (aka The Mad Printer)

Half of the 3d printing Hobby…

is tweaking your printer for optimal functionality!  Sorry it’s been taking a while to post!  Since I have been testing a new software update for Hyrel, my Simplify3d settings that were working well before will now require some reconfiguration.

Now that Hyrel’s printers take acceleration into account, I am getting severe overextrusion, amongst a few other issues…. A few things I’m going to try to mitigate this are:

1.) increasing printing speed

2.) decreasing flow rate

look forward to most posts where I tweak simplify3d settings in the coming weeks!


John (aka The Mad Printer)

Happy New Year

New year, new resolution to be more consistent with my blog posts lol.  The past month since I last posted has been filled with lots of holiday business and things that had to, unfortunately, take precedence over posting, but hopefully that should change now that things have quieted down!

All that being said, I’d love to show you guys the finished Harry Potter wand I talked about in my last post!  So, without further ado, here it is:

HarryPotterWand.jpg

It was printed with wood PLA, sanded, and stained an english chestnut color.  It just goes to show you the amazing things you can make with 3d printing!  There was a chamber inside the wand to stuff some electronics that made the light at the tip turn on, so I think it turned out pretty well!  Credit to https://www.thingiverse.com/thing:1089917 for the stl!  While the rough look wasn’t intentional (eSun wood PLA is very poor quality, I would not recommend if you want a polished look), the rugged look worked fairly well in this case!  Stay tuned for the next big project soon.


John (aka The Mad Printer)

Still working on it!

ok y’all, this is probably going to be the shortest blog post in history, but Turns out that reducing the temperature helped a little bit, but still caused a lot of oozing with 2 colors.  the next step is to enable ooze shield and see if that helps.  In the meantime, though, I’m currently working on an awesome project for a Secret Santa that I’m doing.  stay tuned for pictures 😉


John (aka The Mad Printer)

I’m back! Sorry for the extreme delay

Once again, sorry for the extreme delay with posting!  I found myself moving to a new apartment very quickly without much notice, so I had to completely disassemble my workshop and put it back together, which took quite a bit of time!  I finally settled on my next project: getting 2-color printing working with Simplify3d!  Remember how I did it with the gray dice with glow-in-the-dark holes (https://madprinter.org/2017/01/22/yay-it-works/)?  Well, this time, it’s soooo much easier with simplify3d!  My first attempt came out interestingly:


2-colorSimplify

You can see a few problems, namely melting and oozing.  To reduce this, I tried to use ooze shield (builds a 2-layer thick wall around the part to catch the oozing junk before it hits the actual part), and that helped a little bit, but not enough.  I really think I need to lower the printing temperature to be successful.  So I’m going to lower from my usual printing temp of 210c for PLA to 195c.  I run PLA through some of my other printers at 195, so it shouldn’t be any problem for my Hyrel!  Stay tuned for the next step

John (aka the Mad Printer)

Sorry for the delay, but… It’s finished!

My shift knob is 100% finished!  Steps 10 and 11 (drilling and tapping the hole, and screwing it on the shifter of my car) were interesting, only because almost no one had an M12x1.25 tap!  I had to order that online.  In order to drill and tap the hole, I measured the threads on the shifter itself, and I realized the threaded part was 1.15 inches long, which was how far I needed to drill to get the shift knob to sit in the right place on the shifter.  In order to do that, I used a set of calipers to measure 1.15 inches exactly on the drill bit.  Then, I marked a line with painter’s tape on the drill bit so I knew exactly how far to drill in.  That helped tremendously!  So, here’s the final product!


shift_knob(completed1)shiftKnob(completed2)

It’s incredibly comfortable to use since it’s custom tailored to my grip!  Now that I’ve finished this project, I’ve gotta come up with another one to keep things going.  Stay tuned!


John (aka The Mad Printer)

Time for another project!

Hey everyone!  wanted to do a post and update on the latest project I’ve been working on!  I’m creating a shift knob for my car (manual transmission) that is custom molded to my grip!  You might ask yourself “but how does this involve 3d printing?”.  My answer for you is “trust me, it does :P”.  In order to get the custom shift knob, here’s the process I am currently going through:

1.) Mold the general shape out of PlayDough
2.) Grip the PlayDough the way I normally would my shifter
3.) 3d scan the PlayDough knob
4.) 3d print the stl generated by the scan
5.) test for fit
6.) make a silicone mold from the 3d printed knob
7.) cast the mold in resin so the resulting knob is a cool color and solid plastic
8.) sand the resin cast starting at 120 grit sandpaper and working my way up to 400 grit
9.) apply 2 coats of polyurethane to make the shifter glossy!
10.) my shifter uses a M12x1.25 thread, so drill a hole in the bottom of the shifter and tap that hold with the correct threads.
11.) screw shift knob onto shaft in car and enjoy!

Steps 1-5 went off without a hitch, and the print came out perfectly and fit my hand like a glove!  I learned real quick from other projects, though, that I’m allergic to resin…. it makes my face swell really badly :(.  So I enlisted the help of a good friend for steps 6 and 7.

After I had finished sanding, the surface was very smooth, but it wasn’t as shiny as I would have wanted, so another friend suggested step 9, and it turned out incredible (see below pic)

shift_knob
I still have to complete steps 10 and 11, so stay tuned for more updates and more pics!

John (aka The Mad Printer)

The start of a project!

So, one project I’ve been wanting to do is print a vase that I cadded a while back!  Sorry it took me a little while to blog about it, but I needed to find a continuous 28-hour period for it to print (since that’s how long it’s going to take haha).  I tried to print it once, but my previous simplify3d settings weren’t as good as the ones I have now!  To show the difference:

vase2vase4vase3

The red print is the newest attempt, and the white print is the older attempt with the old settings!  Just from looking at the picture, you can see a very marked difference.  The white print has some gaps and extrusion issues, while the red print is incredibly smooth!  Having a printer perfectly dialed in makes for gorgeous prints.  Furthermore, when you see the inside of the vase, it doesn’t have any stringing at all, which means I have my retraction settings perfect as well!

vase1

The only reason I stopped before the vase was complete is because the power in my apartment went out for a period of time, causing the print to fail.  So, lesson learned, always have battery backup!  I will try to print the full vase again soon, so stay tuned!


John (aka The Mad Printer)