
Since I just finished a big long post about 3d print finishing, I thought I would do a project that demonstrated the printing and finishing process from start to finish! I have a fancy pen display stand that I had cadded some months ago, and it’s bigger than the build volume of my printer. So, I had to go into a software called Netfab. Netfab is a fantastic piece of software that helps you both repair holes in the mesh of an STL file and take a big stl file and chop it into smaller pieces. So, that’s what I did with my pen stand (printed in wood-infused PLA): 
I chopped it into 4 separate pieces, printed them out, and then glued them together! The resulting product looked like this: 
Now is where the finishing part comes in! There are a few problems with the way the print came out post assembly:
- There are some artifacts left over from the 3d printing (the surface isn’t completely smooth).
- you can see all the lines from where I split the part and rejoined it together.
- The wood isn’t a really nice color.
So, there are three things I’m going to do to fix these issues:
- Sand the 3d print until it is incredibly smooth and uniform
- Fill all the lines from where I split the part
- Stain the wood a nice color
First up: fill all the lines! Since this piece is made from wood-infused PLA, I decided to use wood filler to fill the lines (so that all parts of the piece would stain well). However, I didn’t have wood filler handy, so what do you do when you don’t have wood filler? You mix sawdust with Elmer’s glue and make some! This is the first time I have tried this technique, so I have no idea if it will turn out well, but we’ll see.
Right now, it looks fairly ugly:
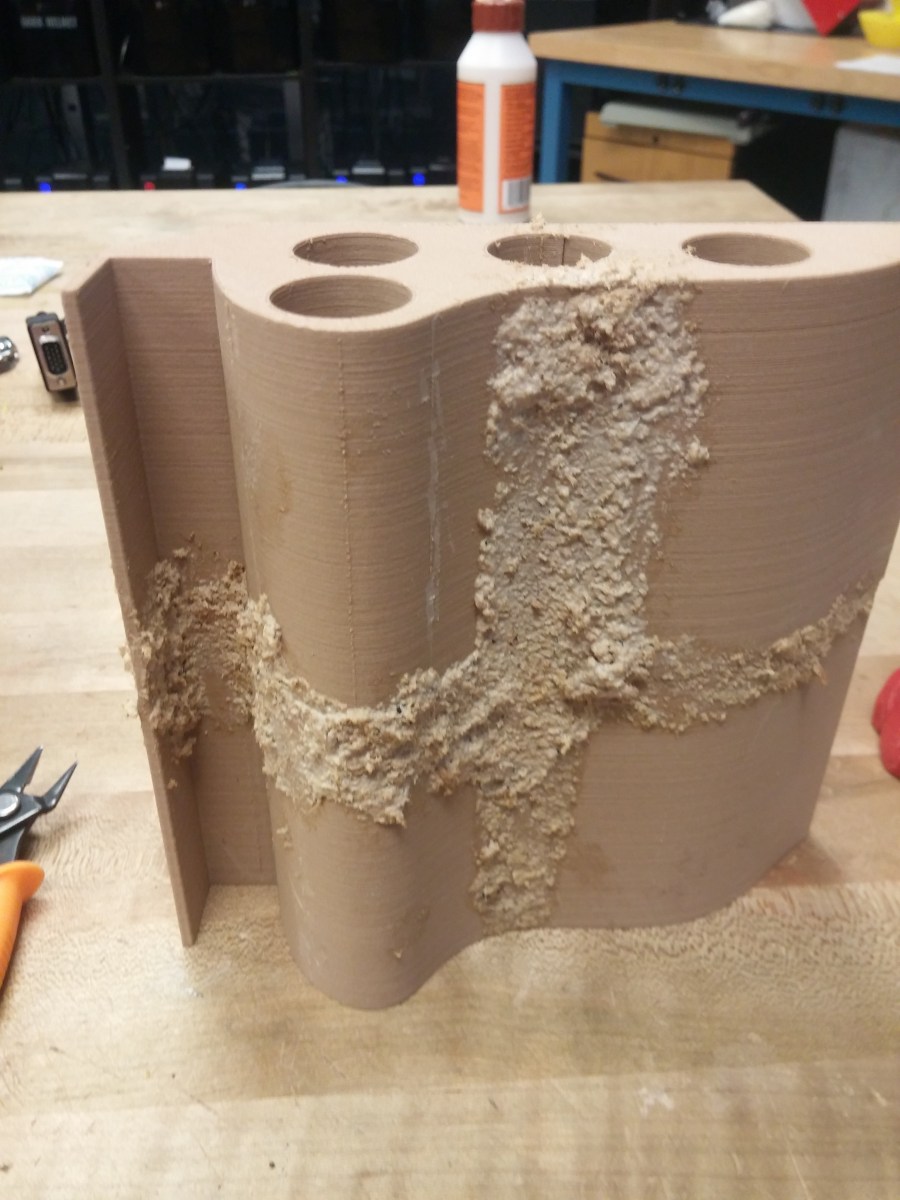
However, that’s because I really glopped it on thick. Most of this will get sanded away, hopefully leaving all those seams filled with the elmer’s/sawdust mixture.
More pictures to come once everything is nicely sanded and prepped for staining! Yay cliff-hanger posts!
John (aka The Mad Printer)
